 U.S. Department of Health and Human Services
Cancel, Deactivate, or Reactivate a Facility Registration
May, 2025
The process of cancelling or deactivating a registration takes less than five minutes. The process of reactivating a registration takes approximately 20 minutes and is very similar to registering a facility for the first time. Be sure that you allow enough time to complete the process in one sitting, as partially completed reactivation cannot be saved for a future session. If you need to leave your computer briefly during the reactivation process, the system will time-out after 30 minutes and all partially completed steps will be lost.
Cancel a Pending Device Facility Registration
Only pending registrations not yet assigned a registration number can be cancelled. Select a pending registration from the display of all registrations with "registration number not yet assigned" under your account and click "Cancel Selected Registration."
Pending Registration Selection Screen
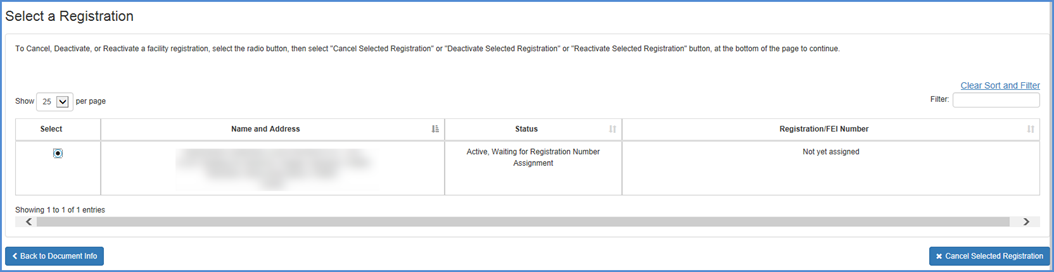
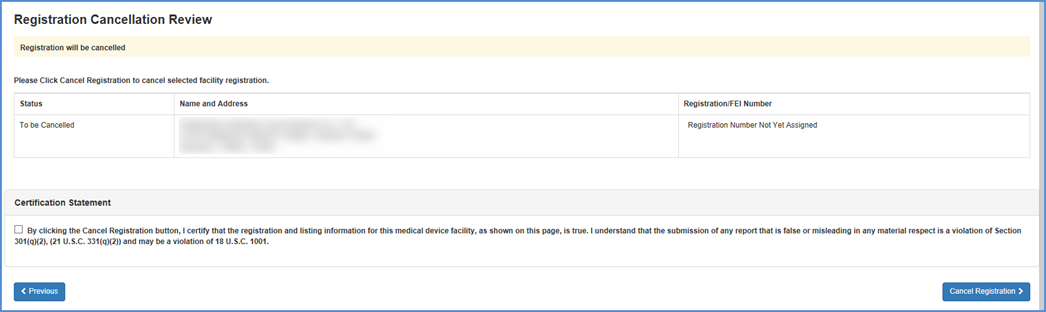
Carefully review the details listed for the facility you have chosen to ensure that this is the facility you truly want to cancel. Click the box by the certification statement and select "Cancel Registration."
The cancellation of this facility is confirmed in the next screen. All facility listings under your account will appear. The newly cancelled registration will no longer be listed in the confirmation display.
Registration Cancellation Review
Cancellation Confirmation

Deactivate a Registration
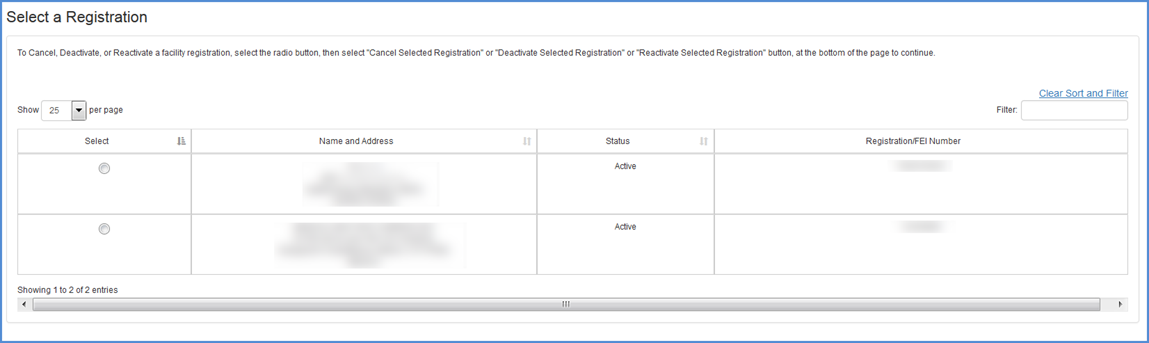
Only registrations that have been assigned a registration number may be deactivated. Select a registration as shown below and click "Deactivate Selected Registration".
Registration Selection Screen
Carefully review the details listed for the facility you have chosen to deactivate. Click the box by the certification statement and select "Deactivate Selected Registration."
Review and Certification Screen Selection Screen
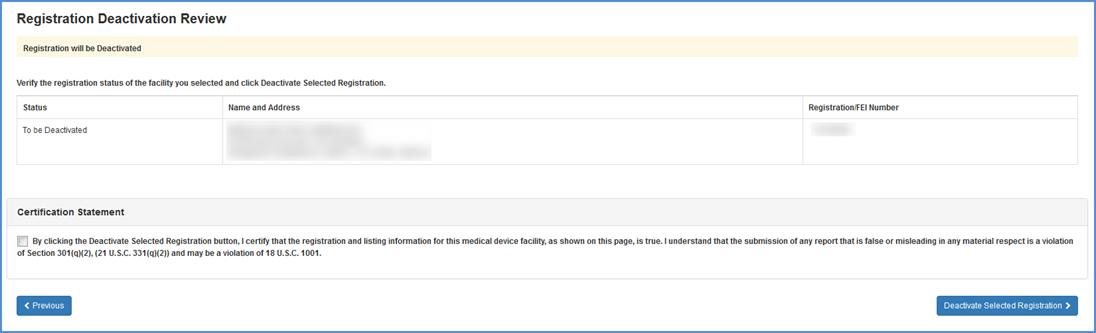
The deactivation of this facility is confirmed in the next screen.
Confirmation Screen

Reactivate a Device Facility Registration
Select an inactive/deactivated registration that you want to reactivate from the listing of all registrations under your account and click "Reactivate Selected Registration."
Inactive Facility Selection Screen

The facility reactivation process is similar to the facility registration process from this point forward.
Initial Importer Question (For U.S. Facility Reactivations Only)
Importer Question Screen
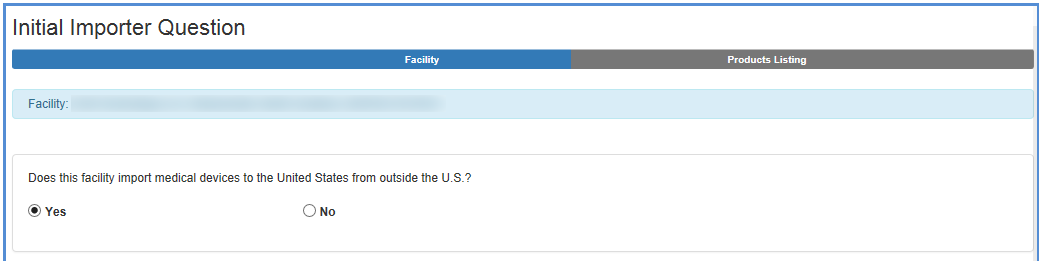
If the facility imports medical
devices to the United States, click "Yes". Otherwise you may click
"No".
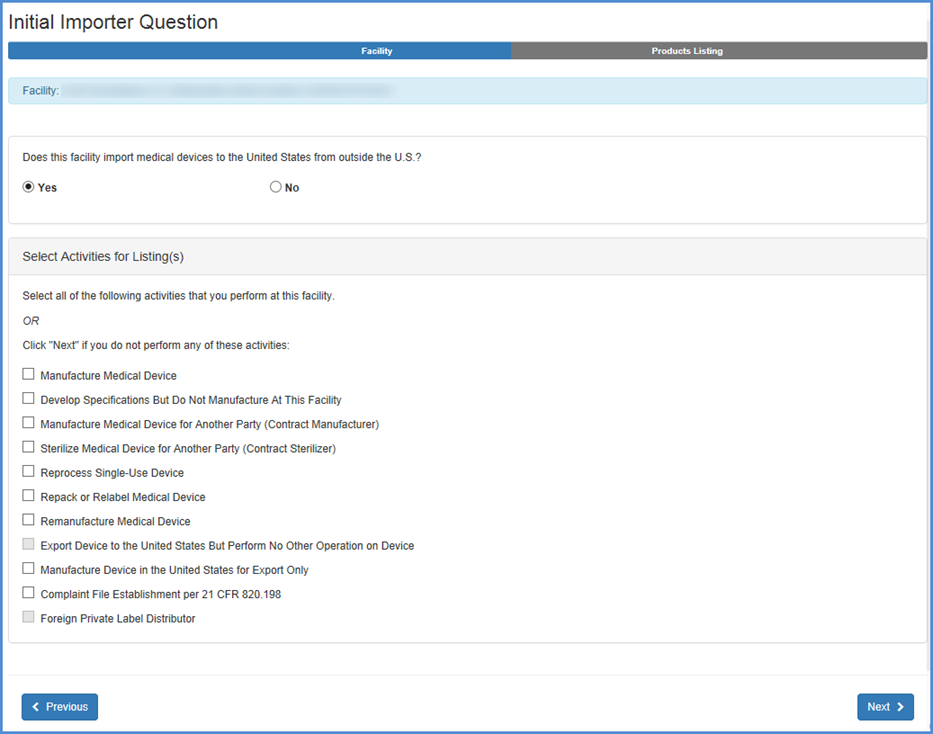
Then, select any and all activities that are performed at this facility and
click "Next" at the bottom of the screen.
Select Facility Activities Screen
Add Products
If you have selected one or more activities, this screen will display products that can be associated with your account. Select any and all products that are related to this facility.
Owner/Operator Product List
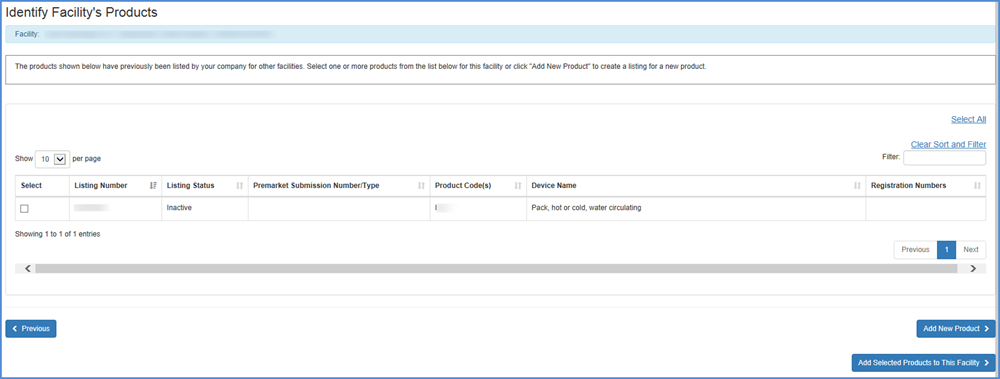
If you have added products on this screen, select the item and click the "Add Selected Products to this Facility" button to proceed to the next screen.
If you need to add new products not previously associated with your account (and not listed on this screen), click "Add New Product" at the bottom of the page.
Adding New Products Not Previously Associated with Your Account
Adding a Premarket Submission Number to Start New Product Addition
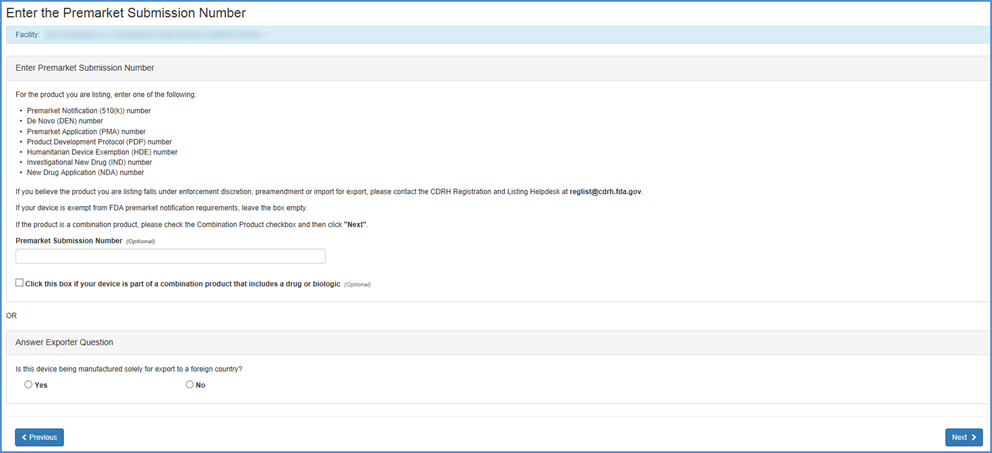
Adding Exempt Products
The following screen will display all product codes from which you can select the appropriate item. Because the listing of products can be quite long, you can use the "Filter" option at the top of the screen to shorten your search.
Type in a word or words to describe the device and the filter will return a list of product names that best match the description.
Search Filter Option

Select Product Activities
Note: These screens appear for all exempt, and non-exempt, products.
Select Activities for Listing(s)
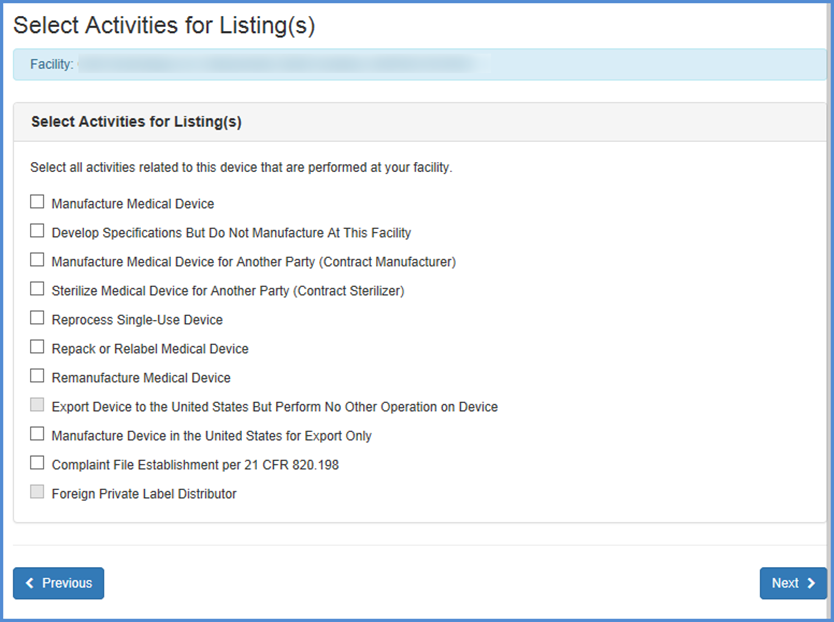
This screen allows you to list activities related to each of the products associated with the facility. Check all activities that apply.
Note: You must select at least one activity for each product.
Enter Proprietary Name(s)
Each listing must have at least one proprietary name or brand name that your product is marketed under.
Enter Proprietary Name(s)
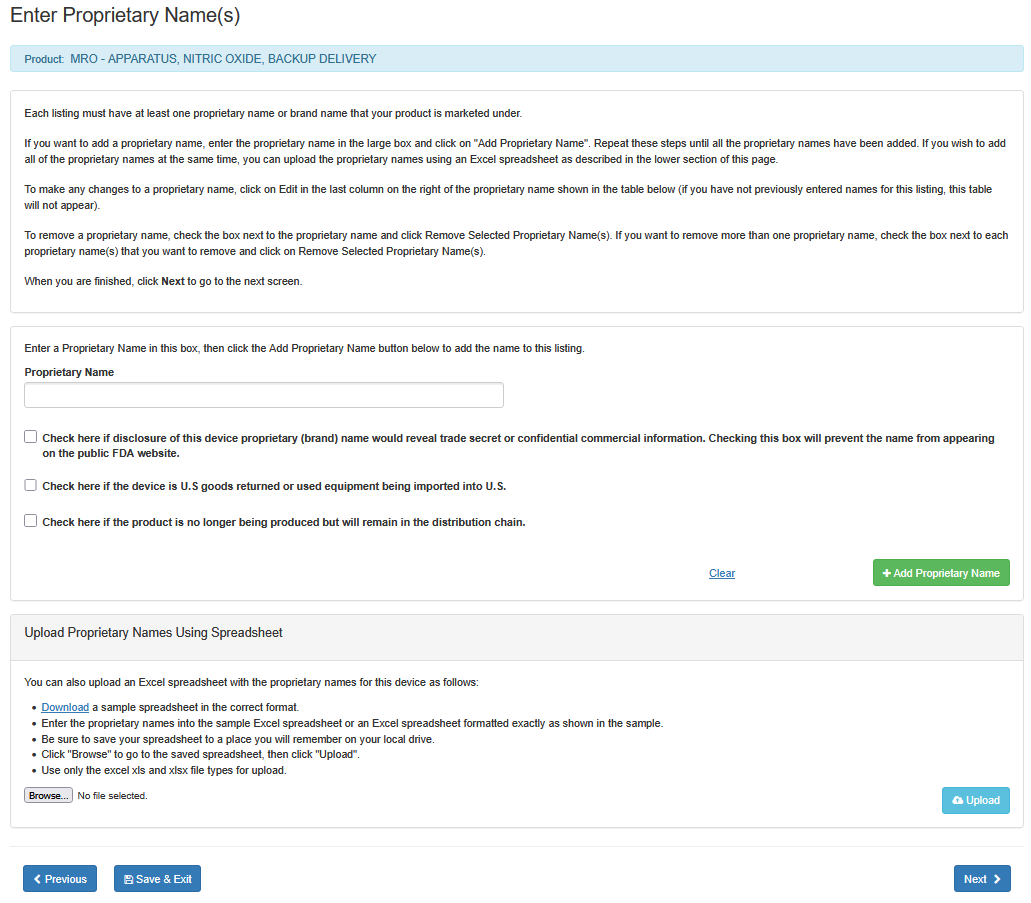
i. Enter the proprietary name in the large box.
ii. If disclosure of this device proprietary (brand) name would reveal a trade
secret or confidential information, check the box below the �Proprietary Name�
field. This will prevent the name from appearing on the public FDA website.
iii. Check the box, if the device is U.S. goods returned or used equipment being imported to U.S.
iv. Check the box, if the product is no longer being produced but will remain in the distribution
chain.
vi. Click on "Add Proprietary Name".
Repeat these steps until all the proprietary names have been added. If you wish to add all of the proprietary names at the same time, you can upload the proprietary names using an Excel spreadsheet as described in the lower section of this screen entitled "Upload Proprietary Names Using Spreadsheet".
To make any changes to a proprietary name, click on Edit in the last column on the right of the proprietary name shown in the table below (if you have not previously entered names for this listing, this table will not appear)
To remove a proprietary name, check the box next to the proprietary name and click "Remove Selected Proprietary Name(s)". If you want to remove more than one proprietary name, check the box next to each proprietary name that you want to remove and click on "Remove Selected Proprietary Name(s)".
When you are finished, click "Next" to go to the next screen.
Review Added Listings
Review newly added device listings associated with the facility you are registering. Carefully review performed activities associated with the product and all associated proprietary names. At the bottom of the screen you have the option to:
Device Listings Summary
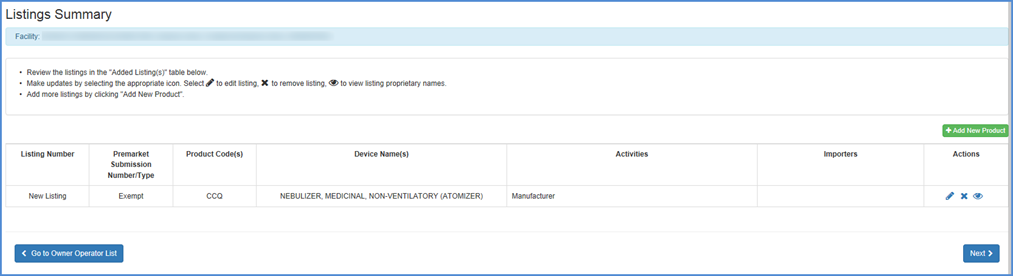
- Review all your listings in the "Listings Summary" table
- To Edit, Remove or View the product from the listing
summary - Select the
 icon to edit
listing, the
icon to edit
listing, the  icon to remove
listing, the
icon to remove
listing, the  icon to view
listing proprietary names.
icon to view
listing proprietary names. - Add a new product - Add more listings by clicking "Add New Product".
- Go to Owner/Operator Product List - Add a product associated with your account that was listed in the Owner/Operator Product List Screen.
- Finished Identifying Products - Click Next button once you are satisfied that the appropriate products are associated with the facility and that all activities and proprietary names are accurate and complete.
Review Registration Reactivation Information
This screen lists all information that you entered during this process, including:
- Facility information.
- Owner/Operator and Official Correspondent information.
- Device listing information.
Edit device information by clicking the "Edit" button over the device listing table on the screen.
When satisfied that the registration information is accurate and complete, click the box by the Certification Statement and "Submit."
Reactivate Device Certification Screen

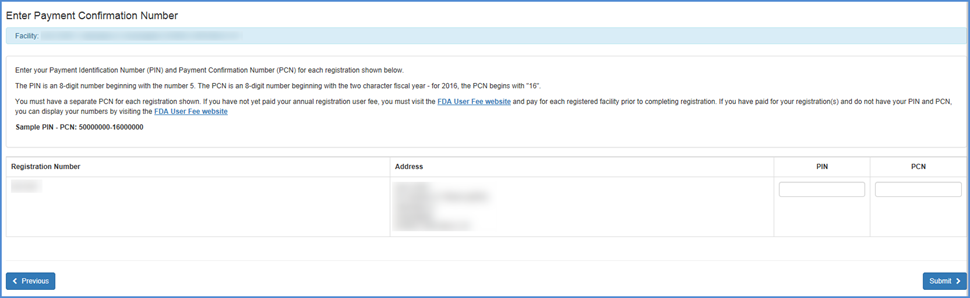
Enter the PIN/PCN
PIN/PCN Entry Screen
Registration Reactivation Confirmation
Carefully review your confirmation and print a copy for your records. This page contains the following important information:
- The date that your registration expires.
- All documented facility registration information that you entered during this registration session.
Reactivation Confirmation Screen
